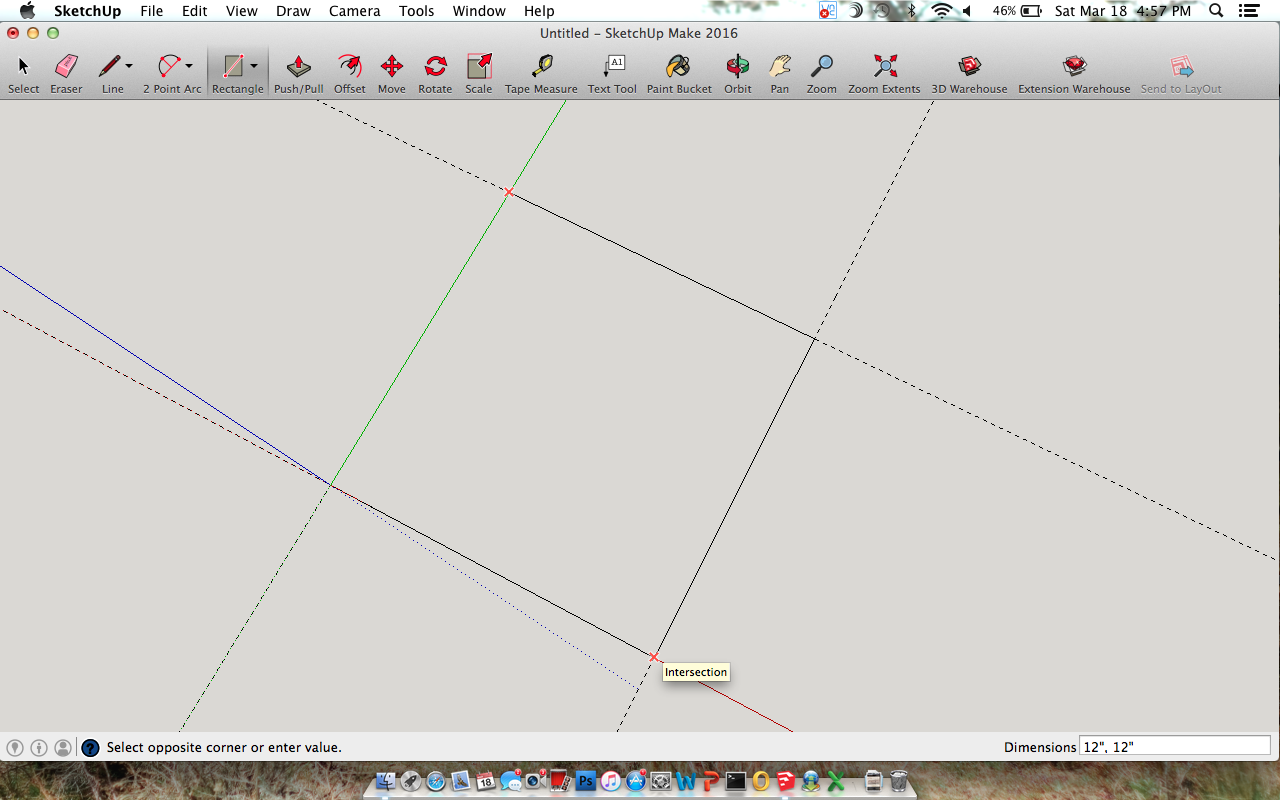


First, Start by making a 12" x 12" x 12" cube. You can do this by using your tape measure tool to give you 12" guides, then making a 2D square with the rectangle tool. The rectangle tool will snap to an intersection.
Just click on one corner, then click on the opposite corner. And there you have it, a square!
Now, take your push/pull tool and put your cursor over the square. The highlighted surface is the surface the tool will either push or pull.
With the push/pull tool, click on the surface and pull that surface up. Woah! 3D! Now, you can either try to pull that surface until it is exactly 12", which is pretty hard to do. Or you can pull it up slightly, click once, then immediately type "12" (don't type the quotations) and hit enter. This will make the surface jump to exactly 12 inches from the original surface you highlighted in the beginning.
Either triple click, or right-click on a surface and then move to "select" followed by "select all connected", to select the entire cube.
After the entire cube is connected, right click again and select "Make Group". This will join all the surfaces and lines into one object.
To make edits to this group, you have to double click to get "inside" the group. From here you can edit each surface and line.
Click outside the grouping to get back out of the group. Then, right-click on the object, and select "Make Component". Components are great because you can edit any number of identical components without having to manually make the changes to each individual component. Instead, you can get back inside the group of a single component, and whatever changes are made inside the group will be reflected on every component of the same type.
An easy way to duplicate a component is to take your move tool, hold down option (if you are on a Mac) and then hover your cursor over a corner of the component. You will see the move tool with a small + symbol next to it. Now, with option pressed, click and drag that component to the desired location.
Now you have two identical components.
If more components are desired, immediately after you click to place the component, you can type "*x" (x being the number of total extra components you want). After deciding on how many components you want, click enter, and that will place the number of components you chose with exact spacing relative to your first duplicate placed.
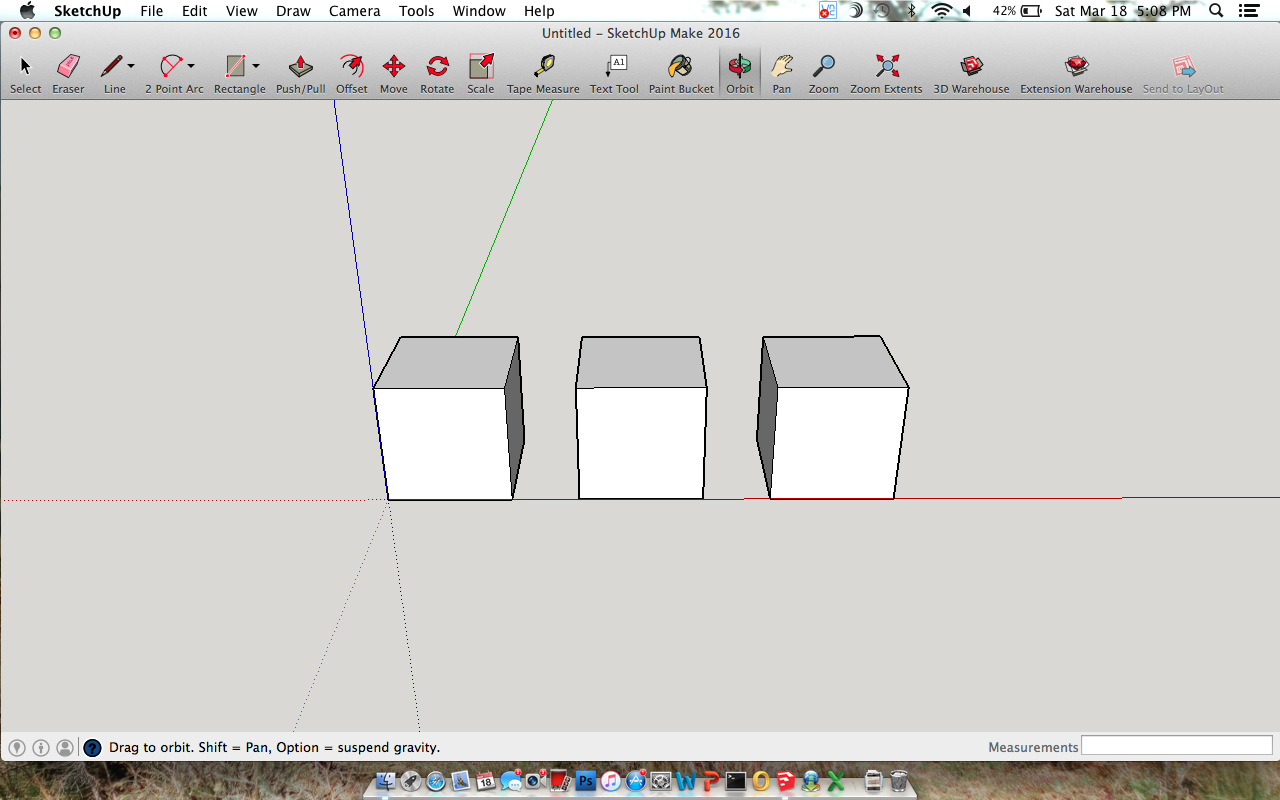
In this case, I moved the first duplicate 3" to the right along the red axis, typed "*2" and a second one was placed another 3" away.
You can also drag the piece farther, and have SketchUp backtrack and equally space multiple components between the original component and your first duplicate.
Instead of using "*" after immediately placing your duplicate, type "/x" (x being the total number of components you want placed between your original and first duplicate).
Now you have the desired amount of components with equal spacing between them. I like to use this feature for figuring out the spacing between each support on a piece of furniture.
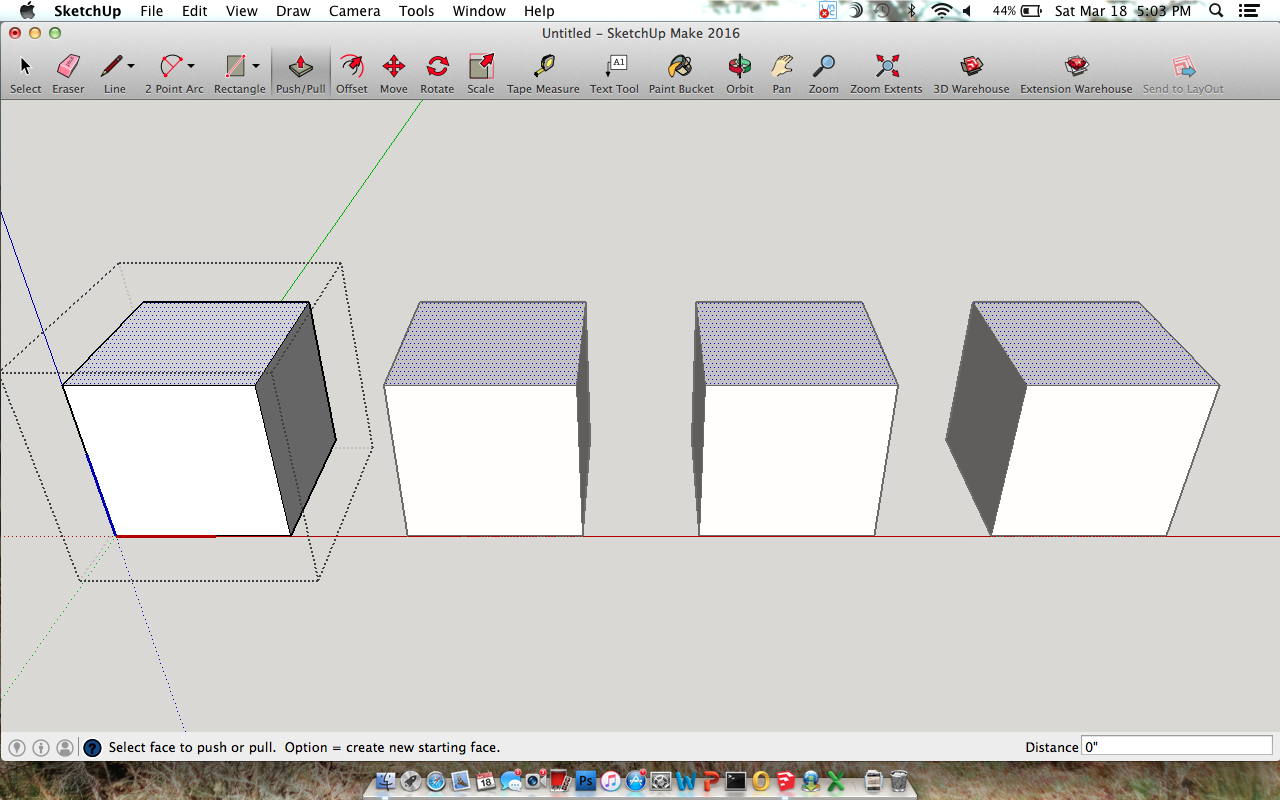
With four identical components created, you can now edit all of them by getting inside the group of a single component. Just double-click on your component and you're back inside the group.
Notice how when you move your cursor over a surface, that same surface is highlighted on every component. Any changes to a surface or line will be reflected on every component as well.
Try using your push/pull tool to shorter the components by pushing the top surface on the component you have open.
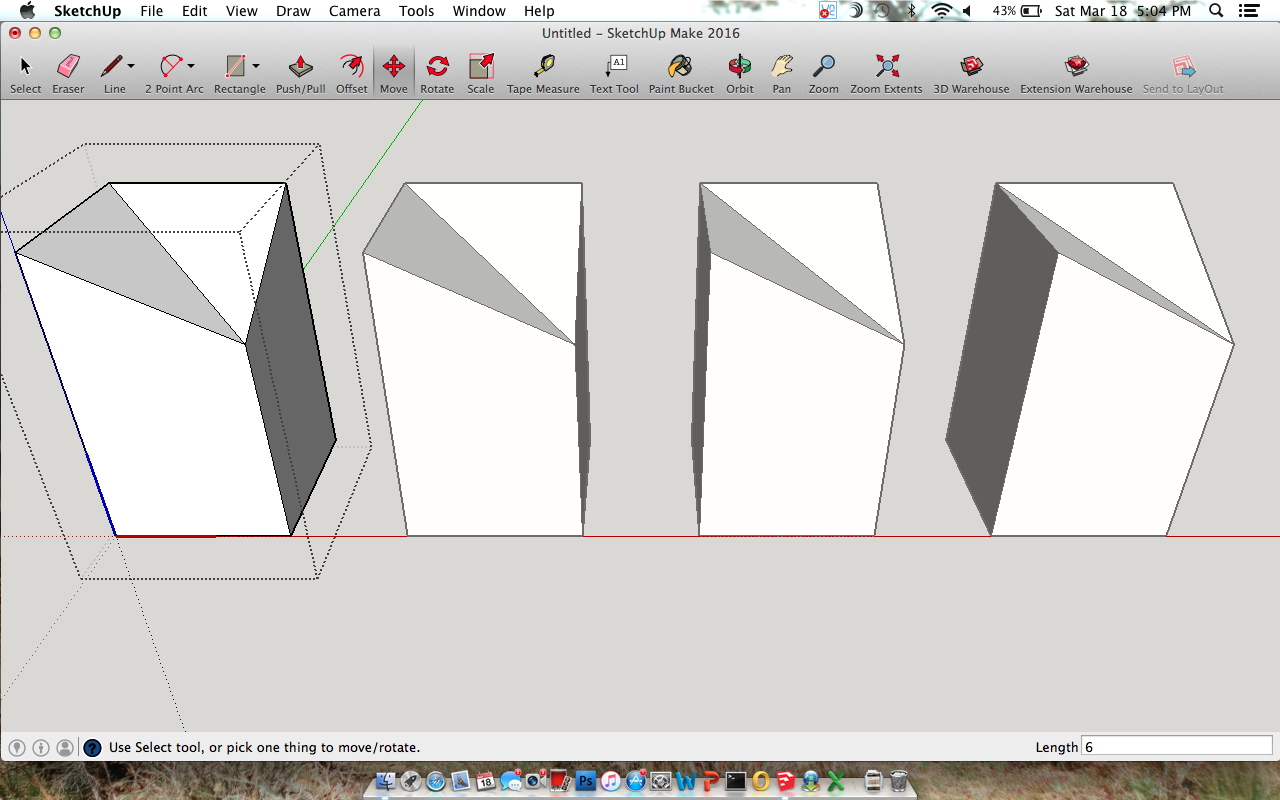
Now pull it up!
Any change you make while inside the component will happen to every component you created.
If you want to add a texture to the component, if you are outside the component/group, it will paint all surfaces of only that component. If you plan on painting every surface of each component, and you only have a few duplicates, I usually just paint each component/group while outside of it. But if you have, lets say 100 identical components, it would be easier to go inside one of the components/groups and paint each surface.
As you can see, when inside the component when you paint a surface, that same surface will be painted on each component.
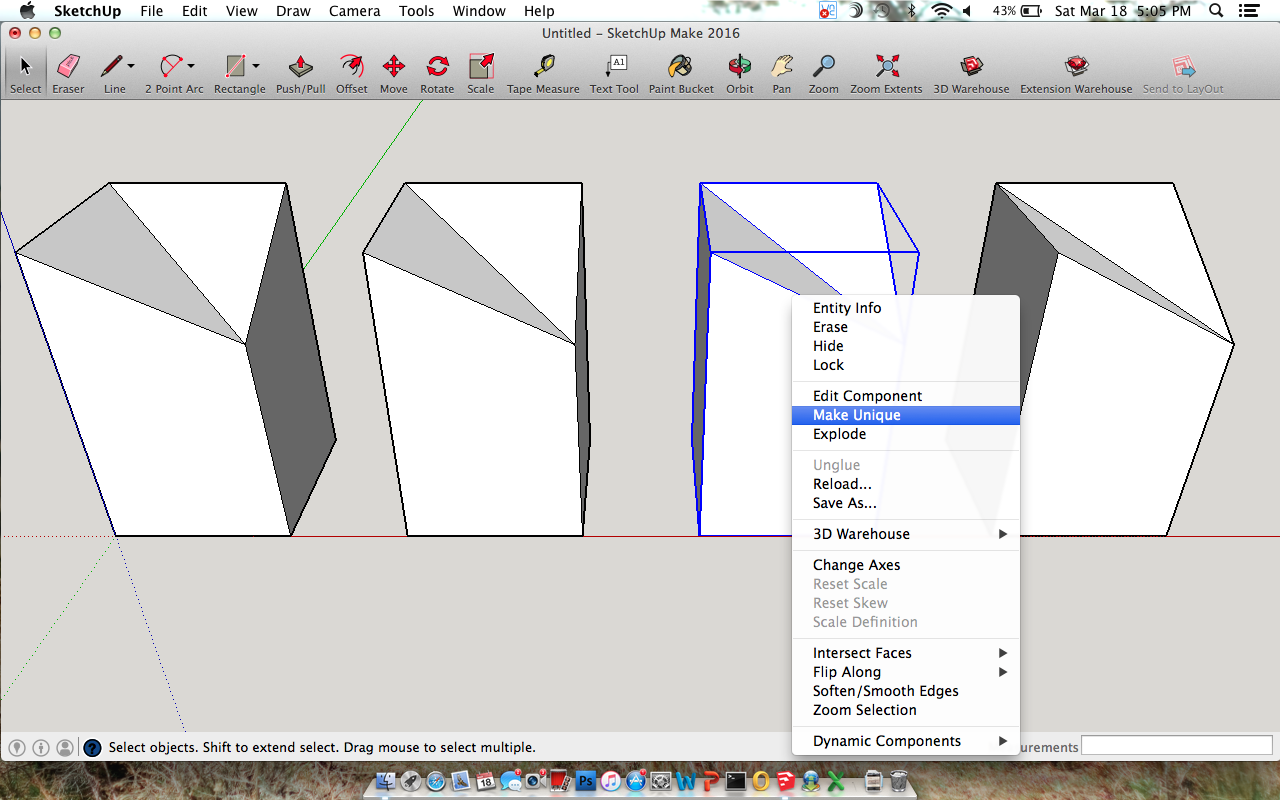
Occasionally you will need to make specific edits to a single component. Whether its something dimensional, or it needs to be a different shape, you can do this by making that specific component unique. Right-click on that component, then select "Make Unique".
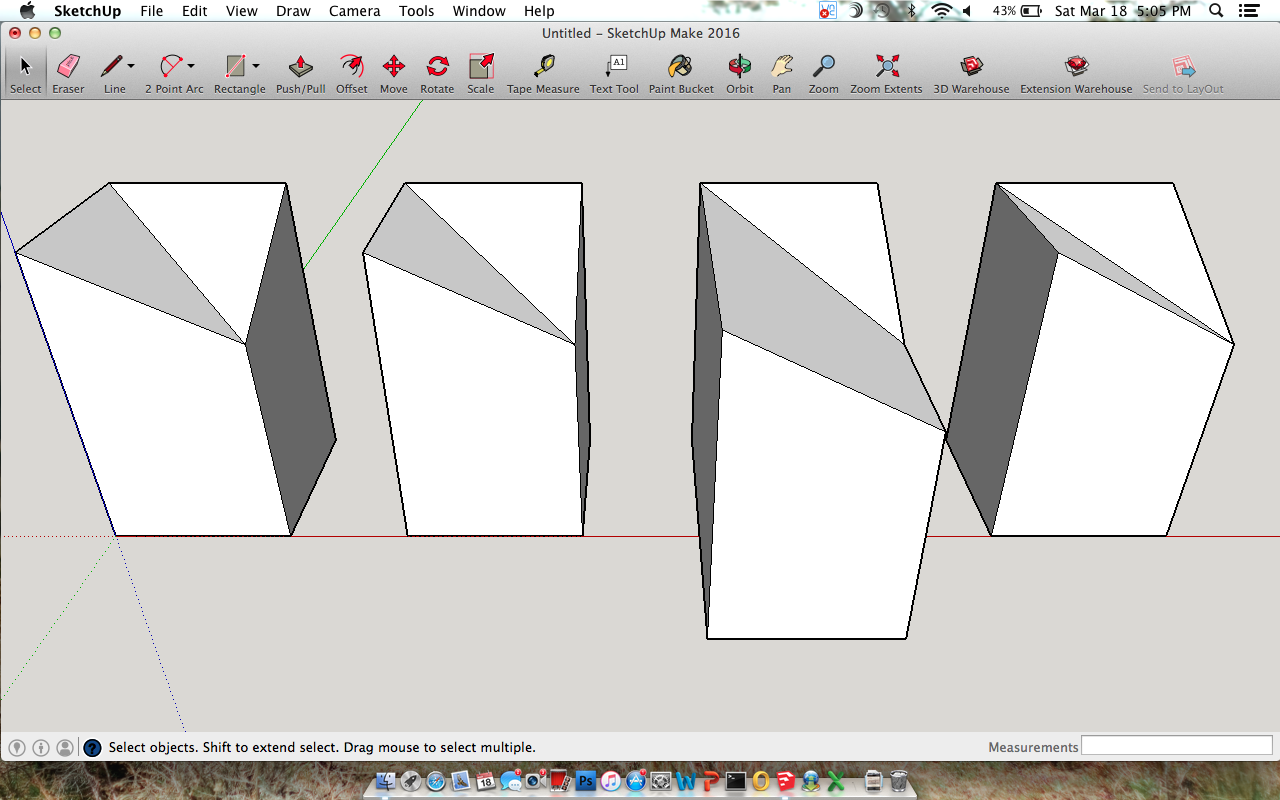
With this component being unique, now when you go inside the component/group, and highlight a surface, notice that the same surface is not highlighted on all the other components.
Because the component is unique, you can make whatever changes you want to that component, without it changing all the others.